I was inspired to start this project when I got a pool over the summer and maintaining it became a bit tiresome. With regular trips to my local pool shop to get my water tested, I decided there must be an easier option. Not just that, I saw a possible market as I was one of many who would line up on the weekends waiting to get there water tested!
So began the pool monitor build, using a Raspberry PI Zero, DFRobot pH Probe and a DS18B20 temperature sensor to measure temperature as a bonus. This project would run standalone on battery in the pool and offer two methods of connectivity, either a wireless hotspot to allow connectivity to the monitor from a phone or connect directly to an existing wifi network as a client if in range. Hosted on the PI would be a web server offering graphed data to the end user, displaying the pH levels, temperature and other advanced settings such as networking configuration options and options for software updates which would be done by cloning a GIT which would be regularly updated.
Initial concerns were getting 1 week running time before recharging and also how often the pH probe would need calibration. I figured acceptable pH levels for a pool have a fairly large range so if I could get reasonably accurate measurements I would consider this to be acceptable before having to calibrate the probe. Unfortunately only time can prove this theory. Initially I thought about doing this as an IoT project but decided not to as there would be too many situations in which the monitor would not be able to have internet access in some circumstances where wifi was not in range.
Part 1 – Hardware Setup
First I started with flashing raspbian lite to the PI SD, configuring mostly from the beginning via the PI serial UART to avoid constant connection issues whilst setting up the interfaces and wifi hotspot. I wire the temperature sensor and installed a 4k7 pull-up resistor between 5v and ground as required for the DS18B20 temp sensor. I will be using the Raspberry PI Zero for this project which includes built in WiFi and Bluetooth but mainly for its size and weight, the ZERO will be perfect!


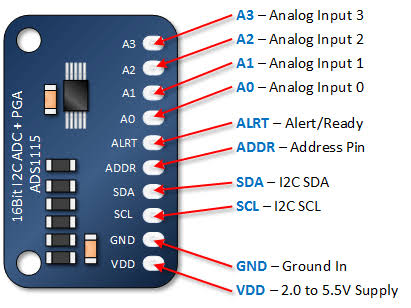
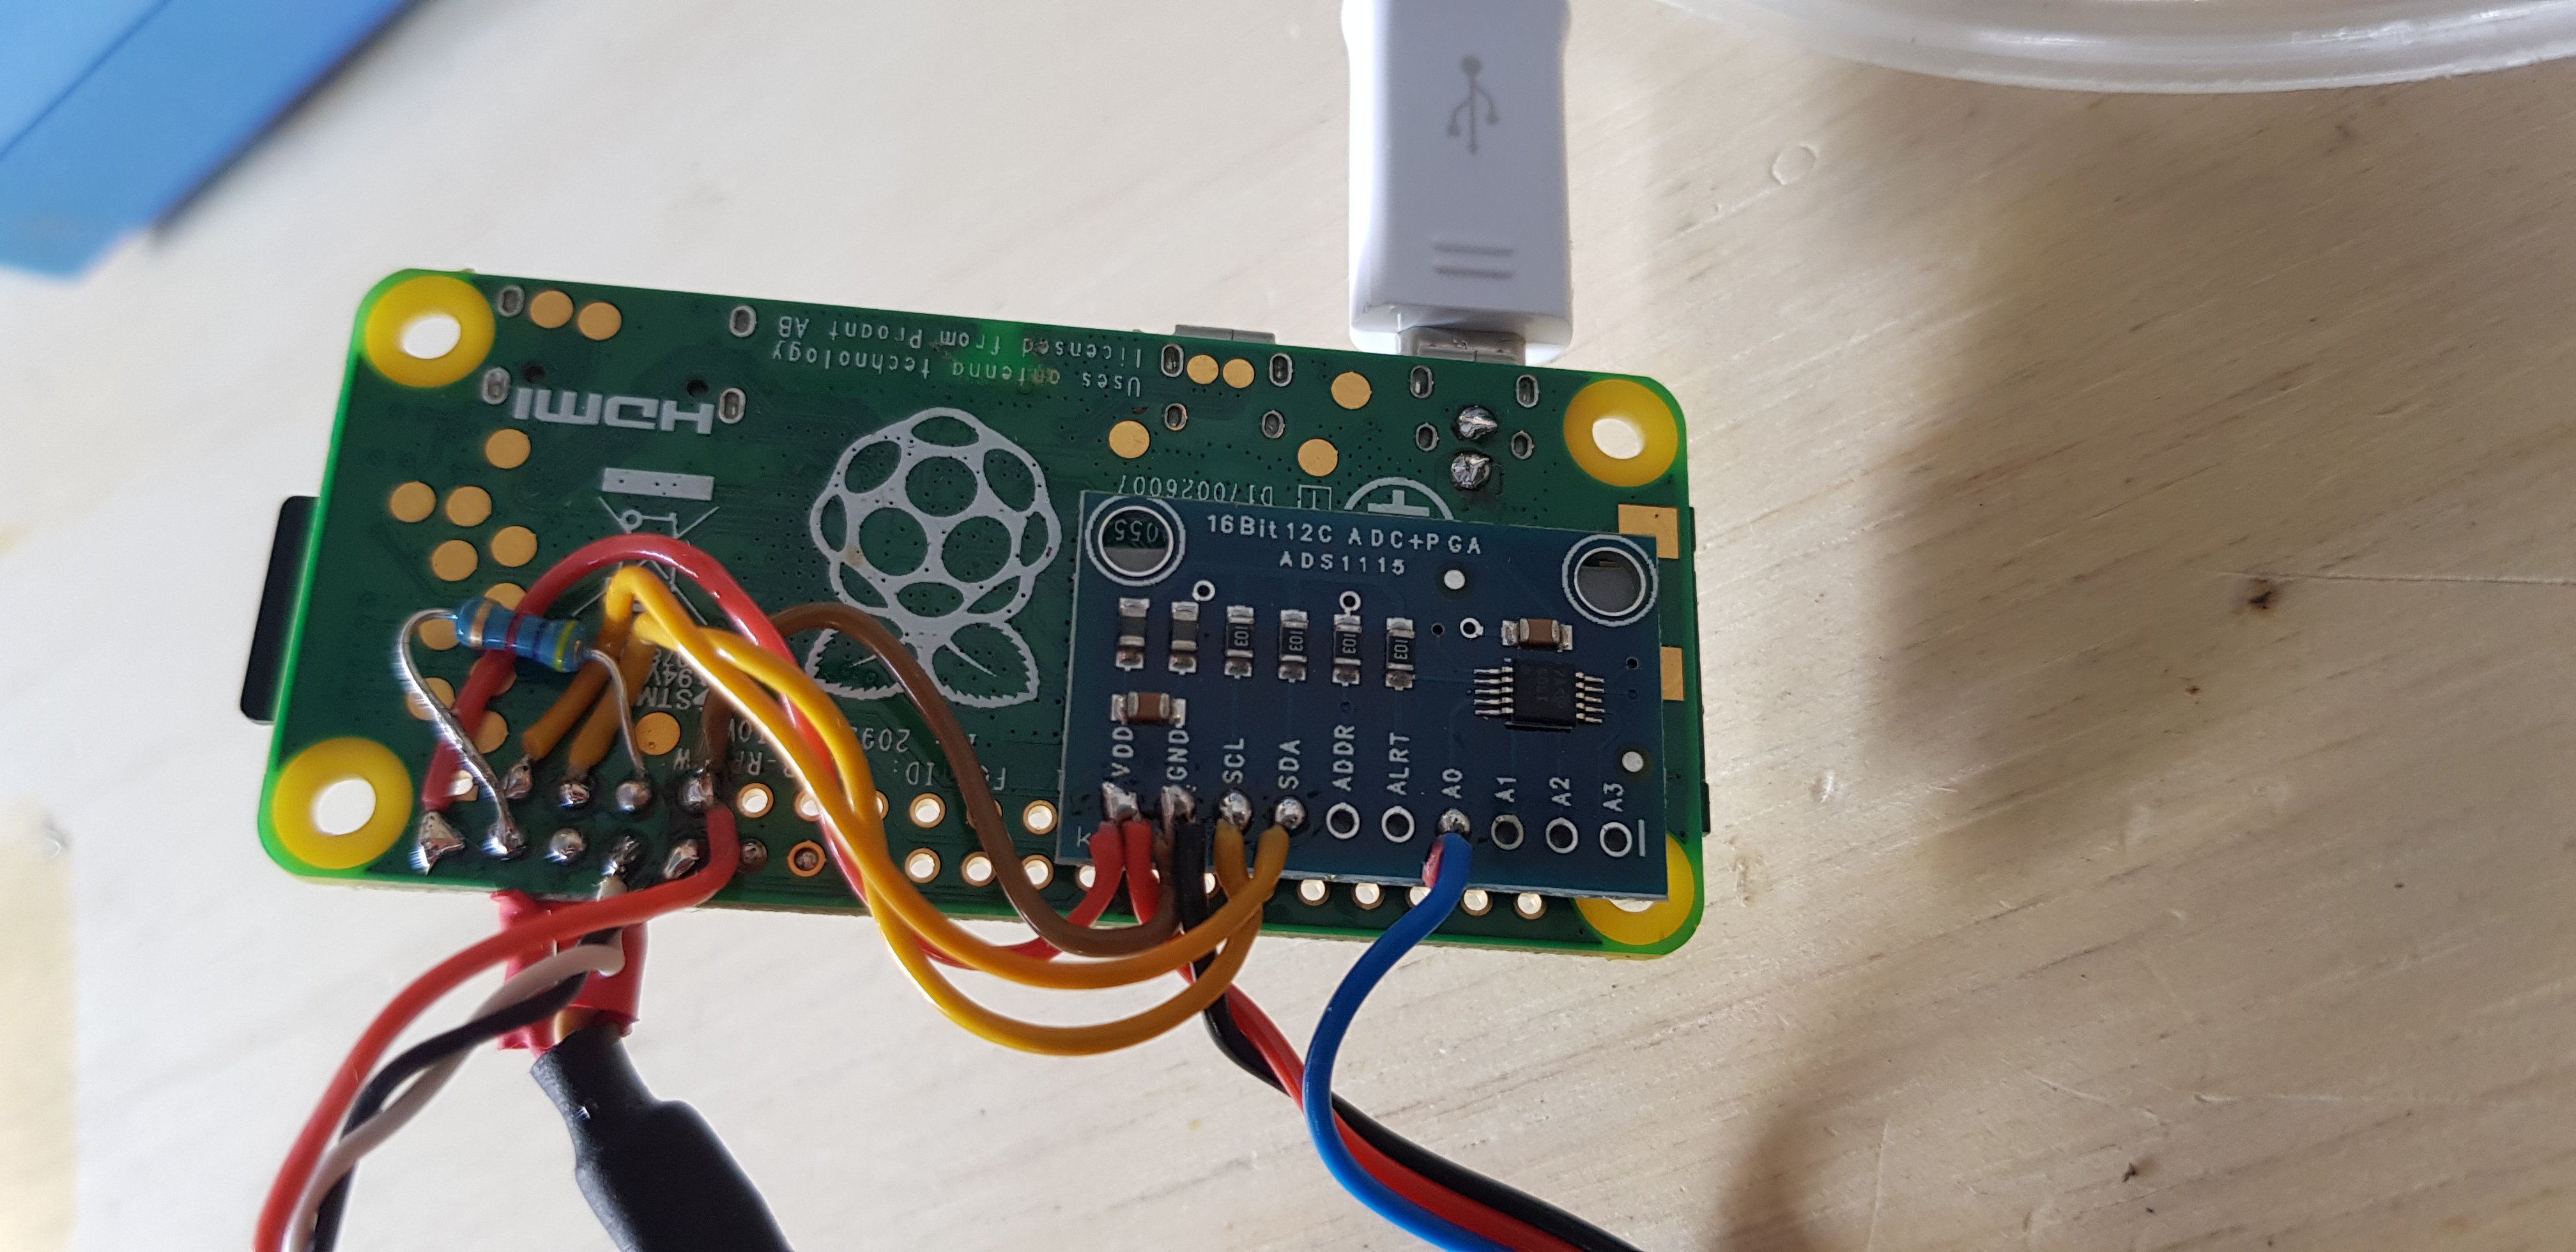
After setting up the temperature sensor, I then began to install and wire up the pH probe from DFRobot. The DFRobot probe only supports analogue output which was a problem as the PI only supports digital inputs and lacks any analogue inputs. To get around this I used a 16bit ADC ( Analogue to Digital Converter) that converted the analogue to digital and sent it via the I2C bus. Another problem I could potentially face later on down the track using this method was inaccurate readings once the data was converted from analogue to digital, and then also passed to thingsboard for graphing.
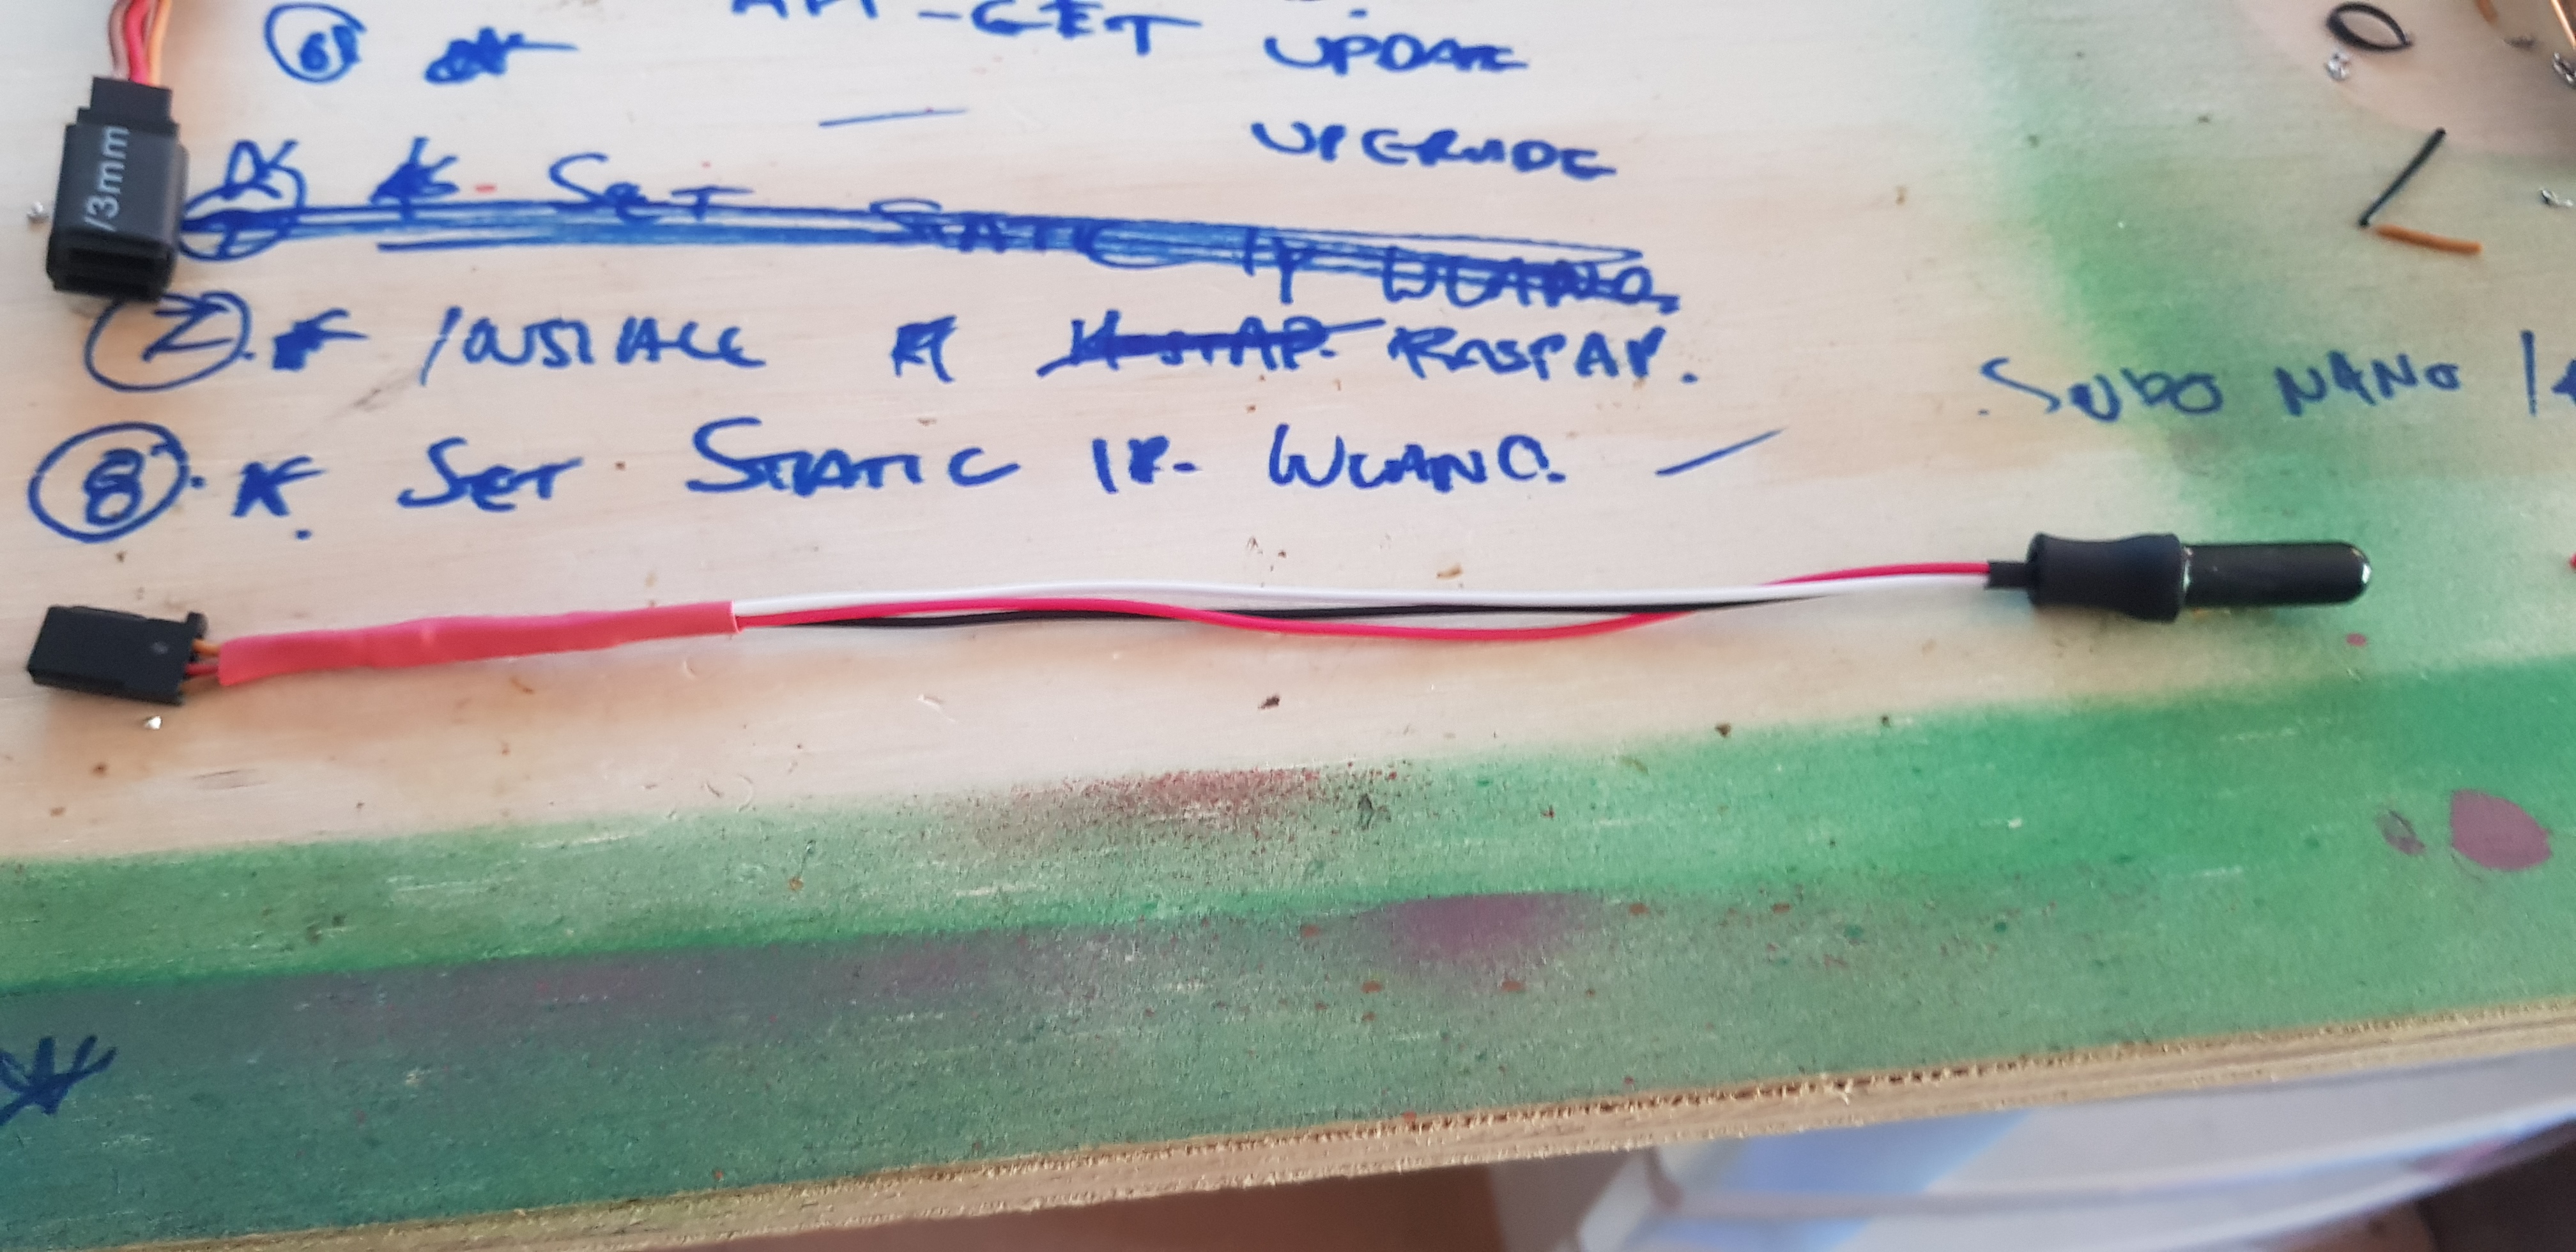
Once the ADC was installed, it was time to crack open the pH probe and try her out. I wasn’t sure what to expect when this probe arrived and found it came with a cap screwed on the sensor and some calibration liquid inside.


Finally, I used a USB OTG cable and added a wireless USB interface for the PI. This allows one interface to act as a CLIENT side interface, allowing connections to existing WiFi networks if within range, and the on-board WiFi interface will work as a WiFI hotspot broadcasting a WiFi network that can be connected to if there is no existing WiFi network in range. The WiFi settings will be configured through the RaspAP web GUI.
And there it is, that’s all the hardware wired and ready for programming. In the next step we will program the hardware including python code, setup Hostapd hotspot, and have a look at thingsboard and how to pass data to thingsboard, and the RaspAP web GUI.


All Comments
Very useful and great idea. Easy to follow too. Thanks for the post!
Thank you 🙂